Sending Leads via Zapier
Overview
Lead Capture AI uses Zapier to enable quick integration with thousands of other apps, including most popular CRM systems, Google Sheets, and marketing platforms. These instructions give a quick overview of how to integrate Lead Capture. Refer to Zapier's documentation for more info on getting started with Zapier and for more info on specific system support.
Getting Started
You will need:
- Your Aurora Lead Capture ID and API token
- Access to a Zapier account
- Accept Aurora's invitation to use the Lead Capture AI Zapier integration

Receiving Leads via Zapier
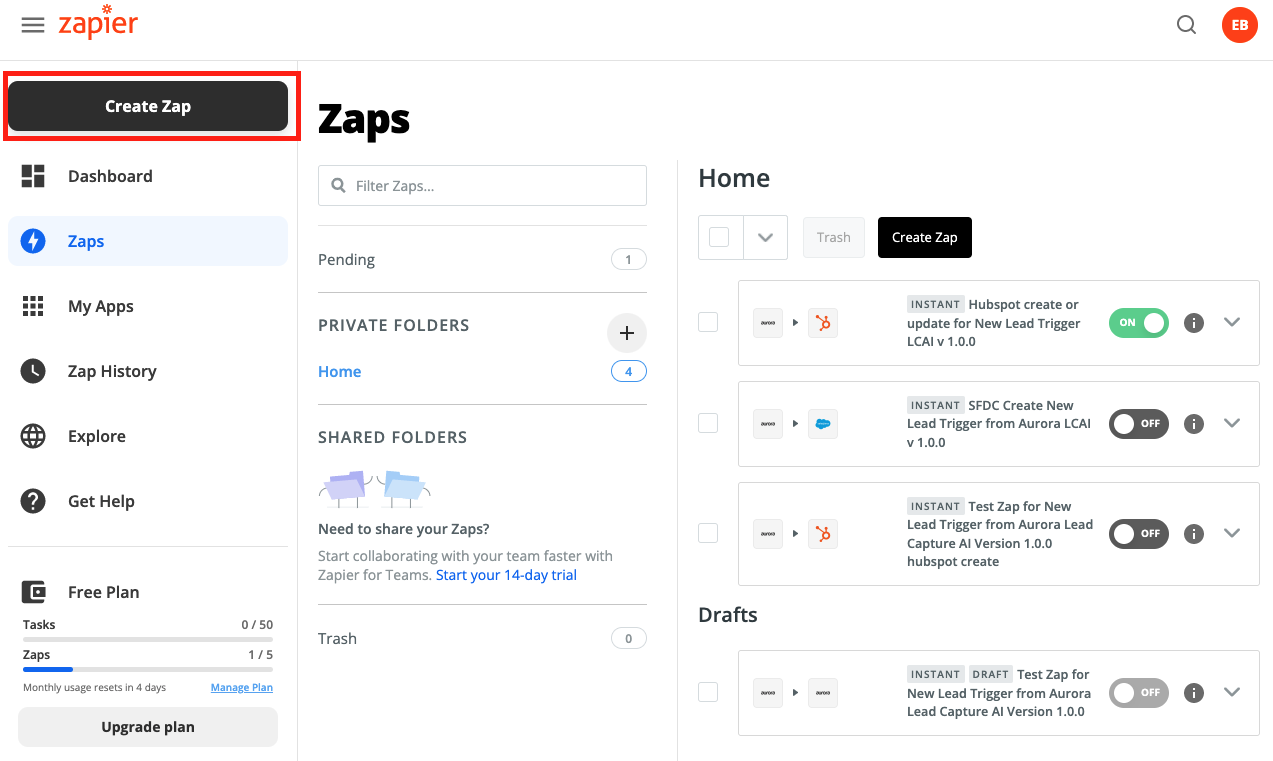
Create a new Zap
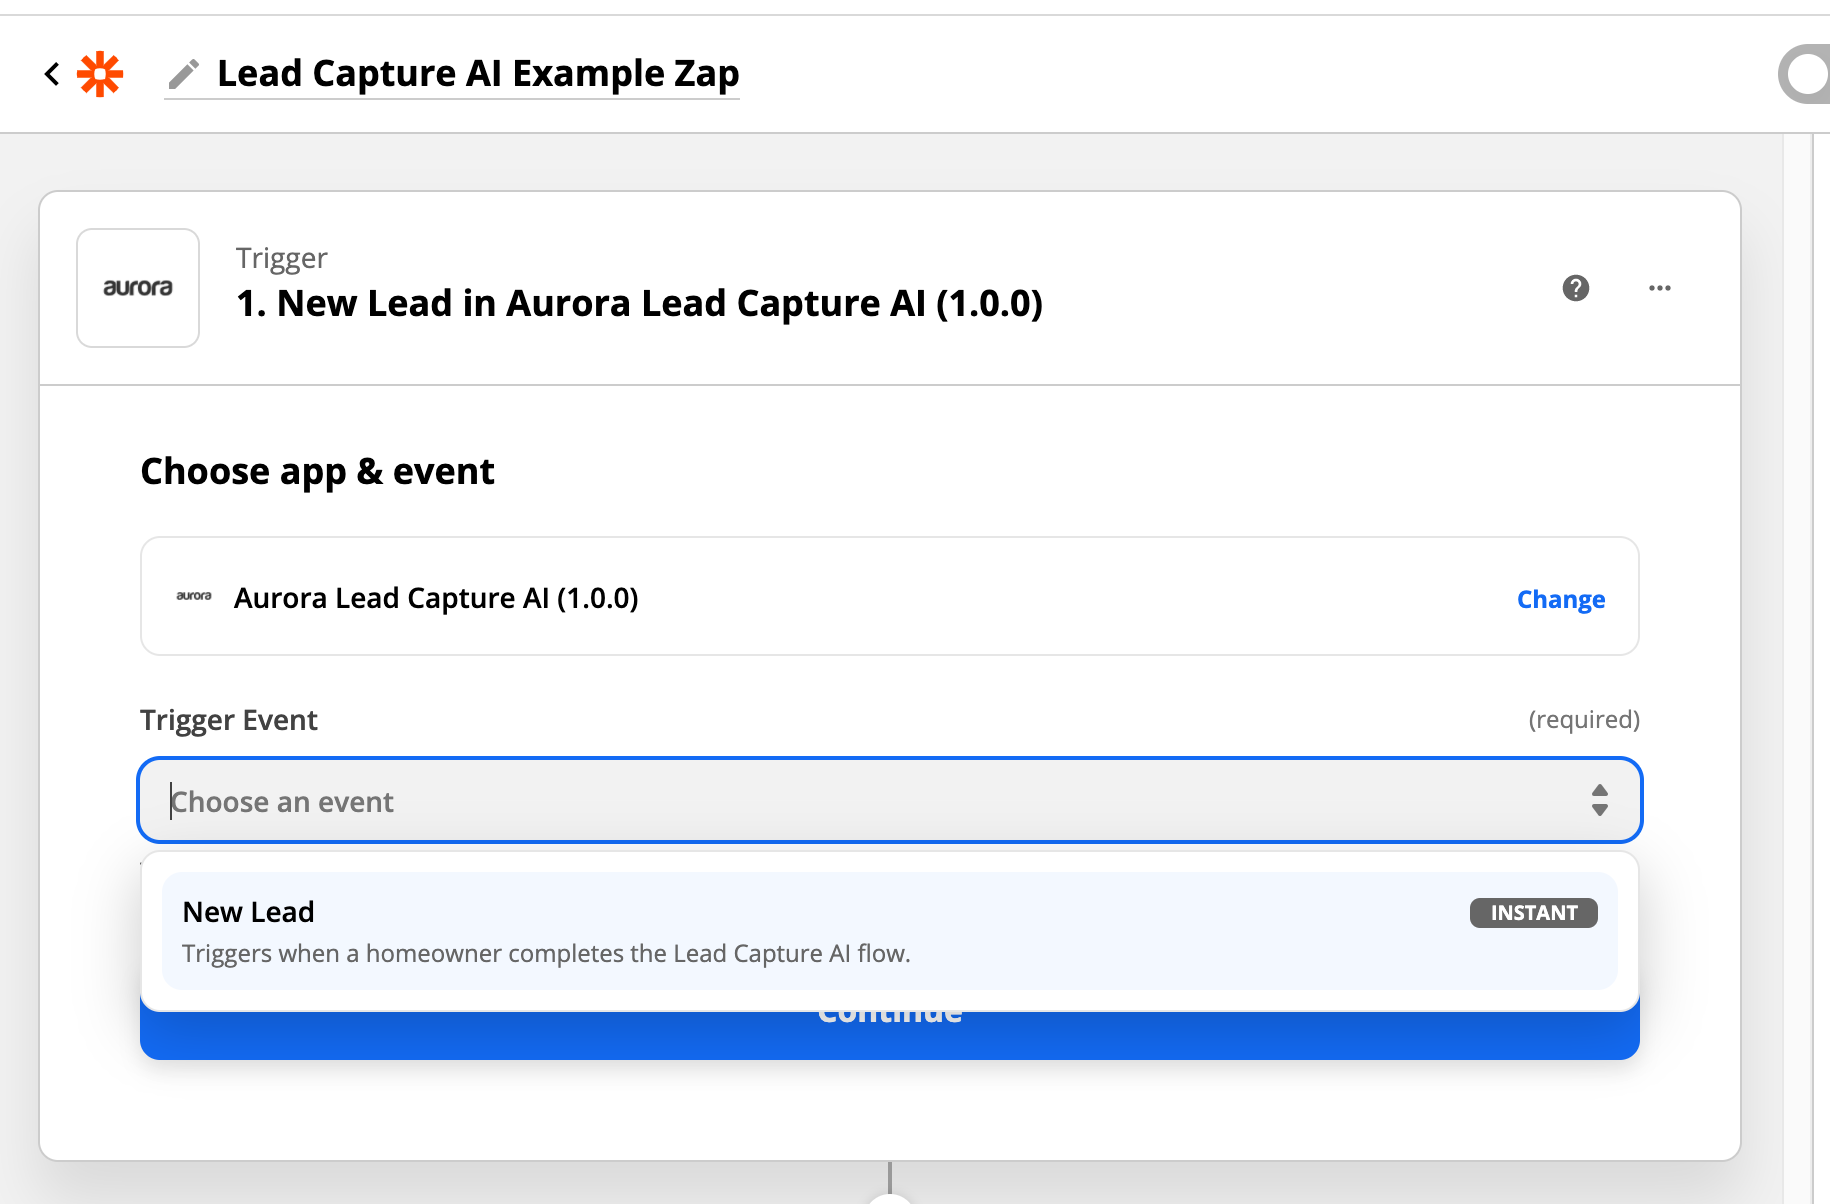
Search for and select the "Aurora Lead Capture AI" App
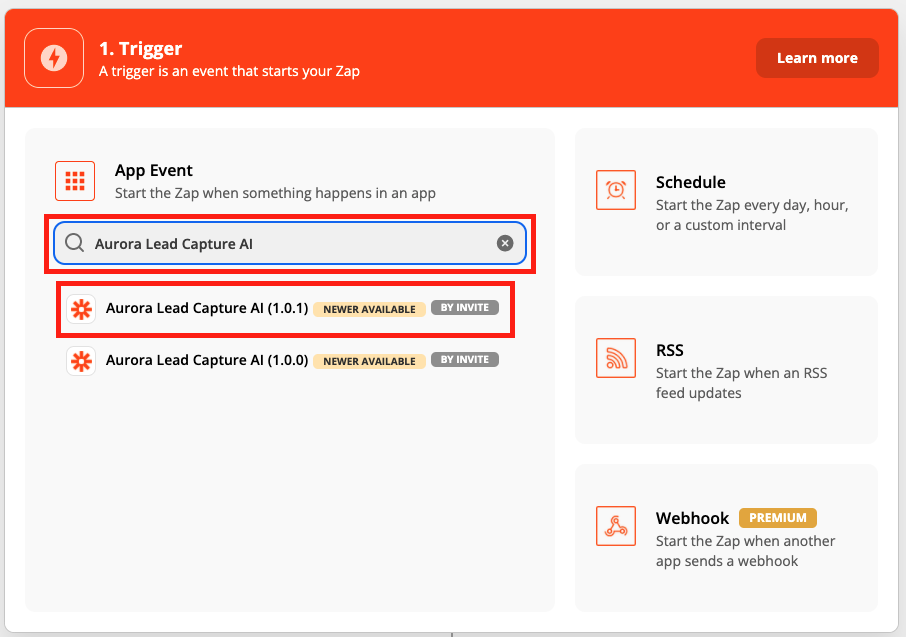
Select the "New Lead" trigger
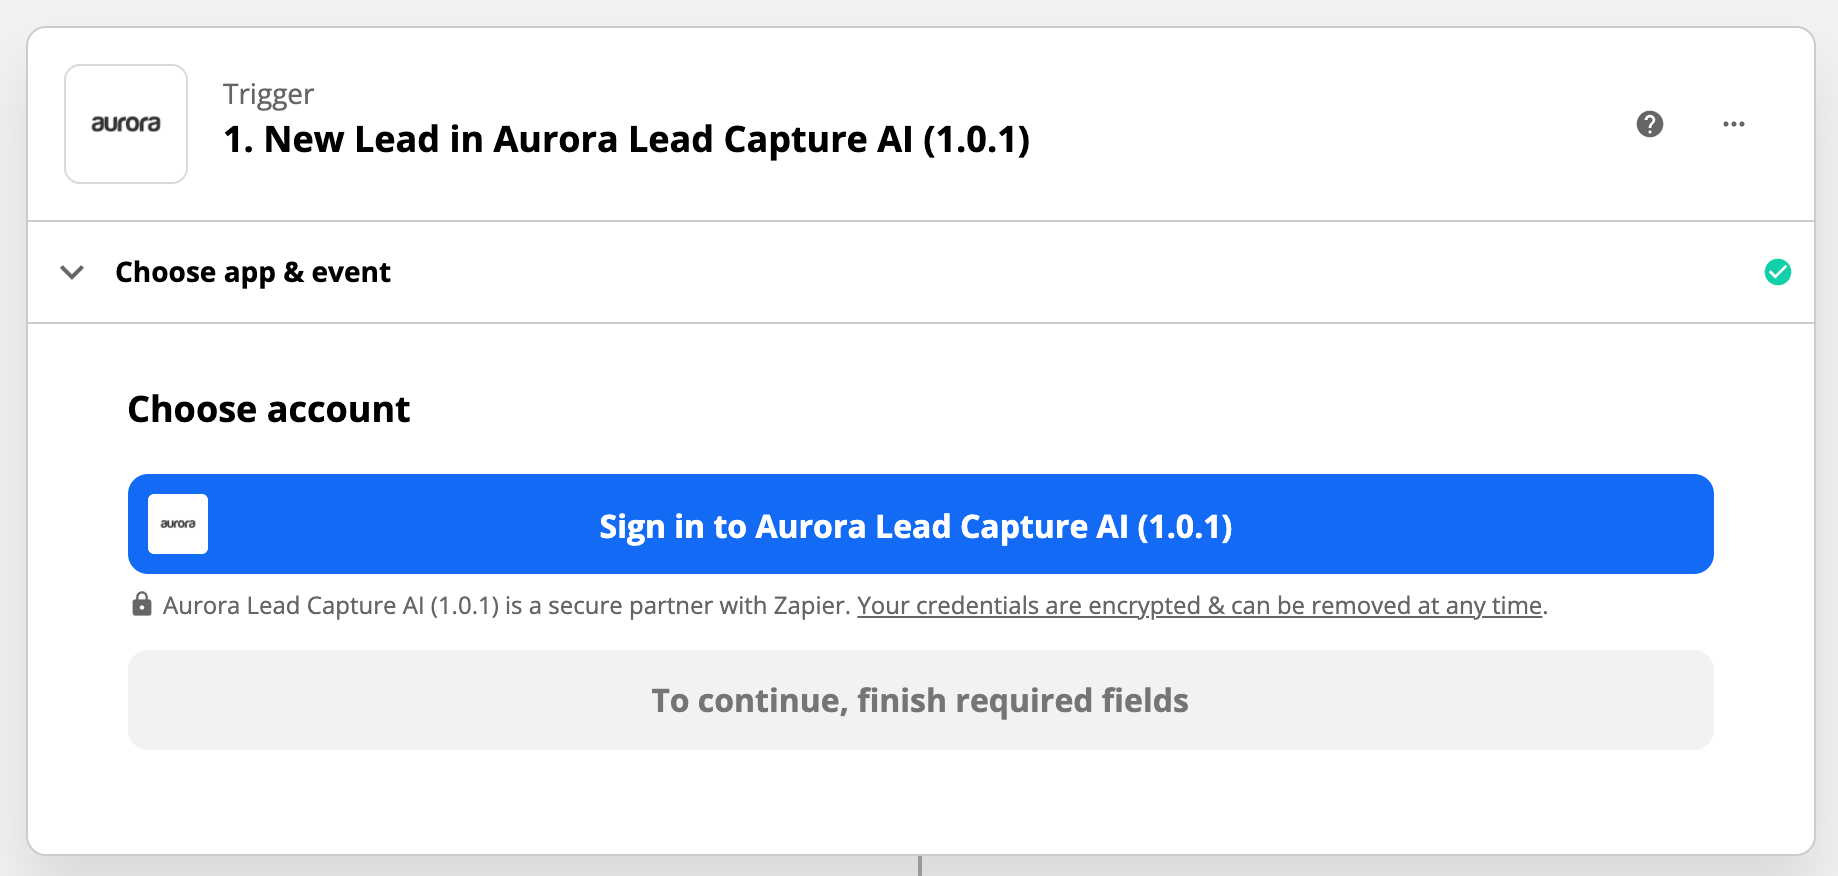
Select "connect a new account"
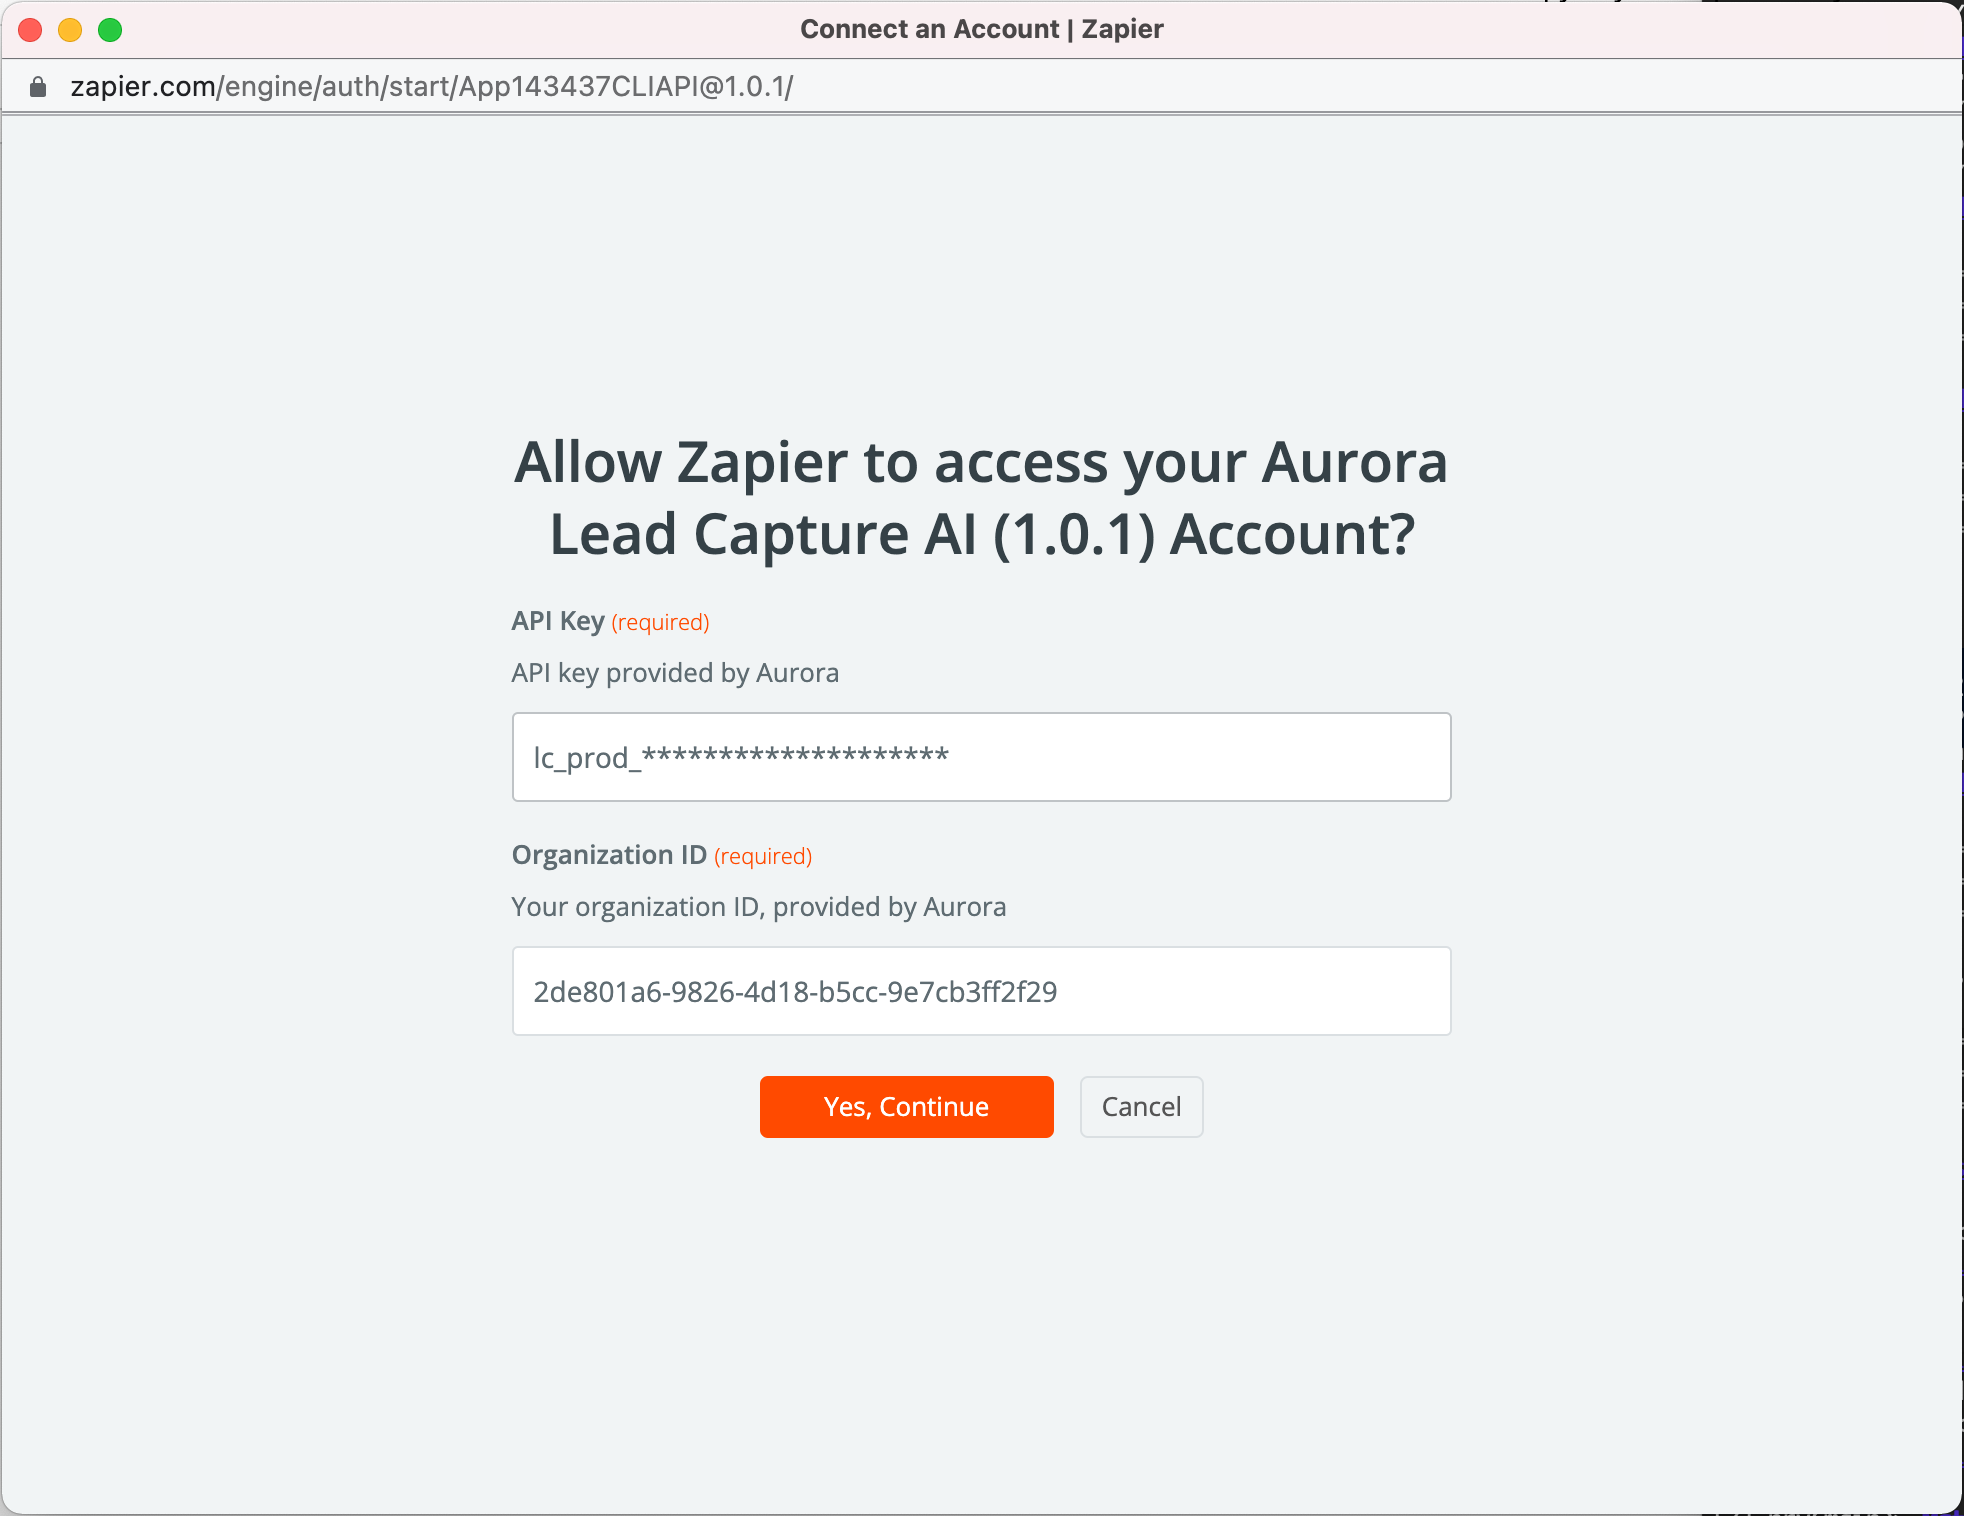
Enter the API key and your unique organization ID provided by Aurora
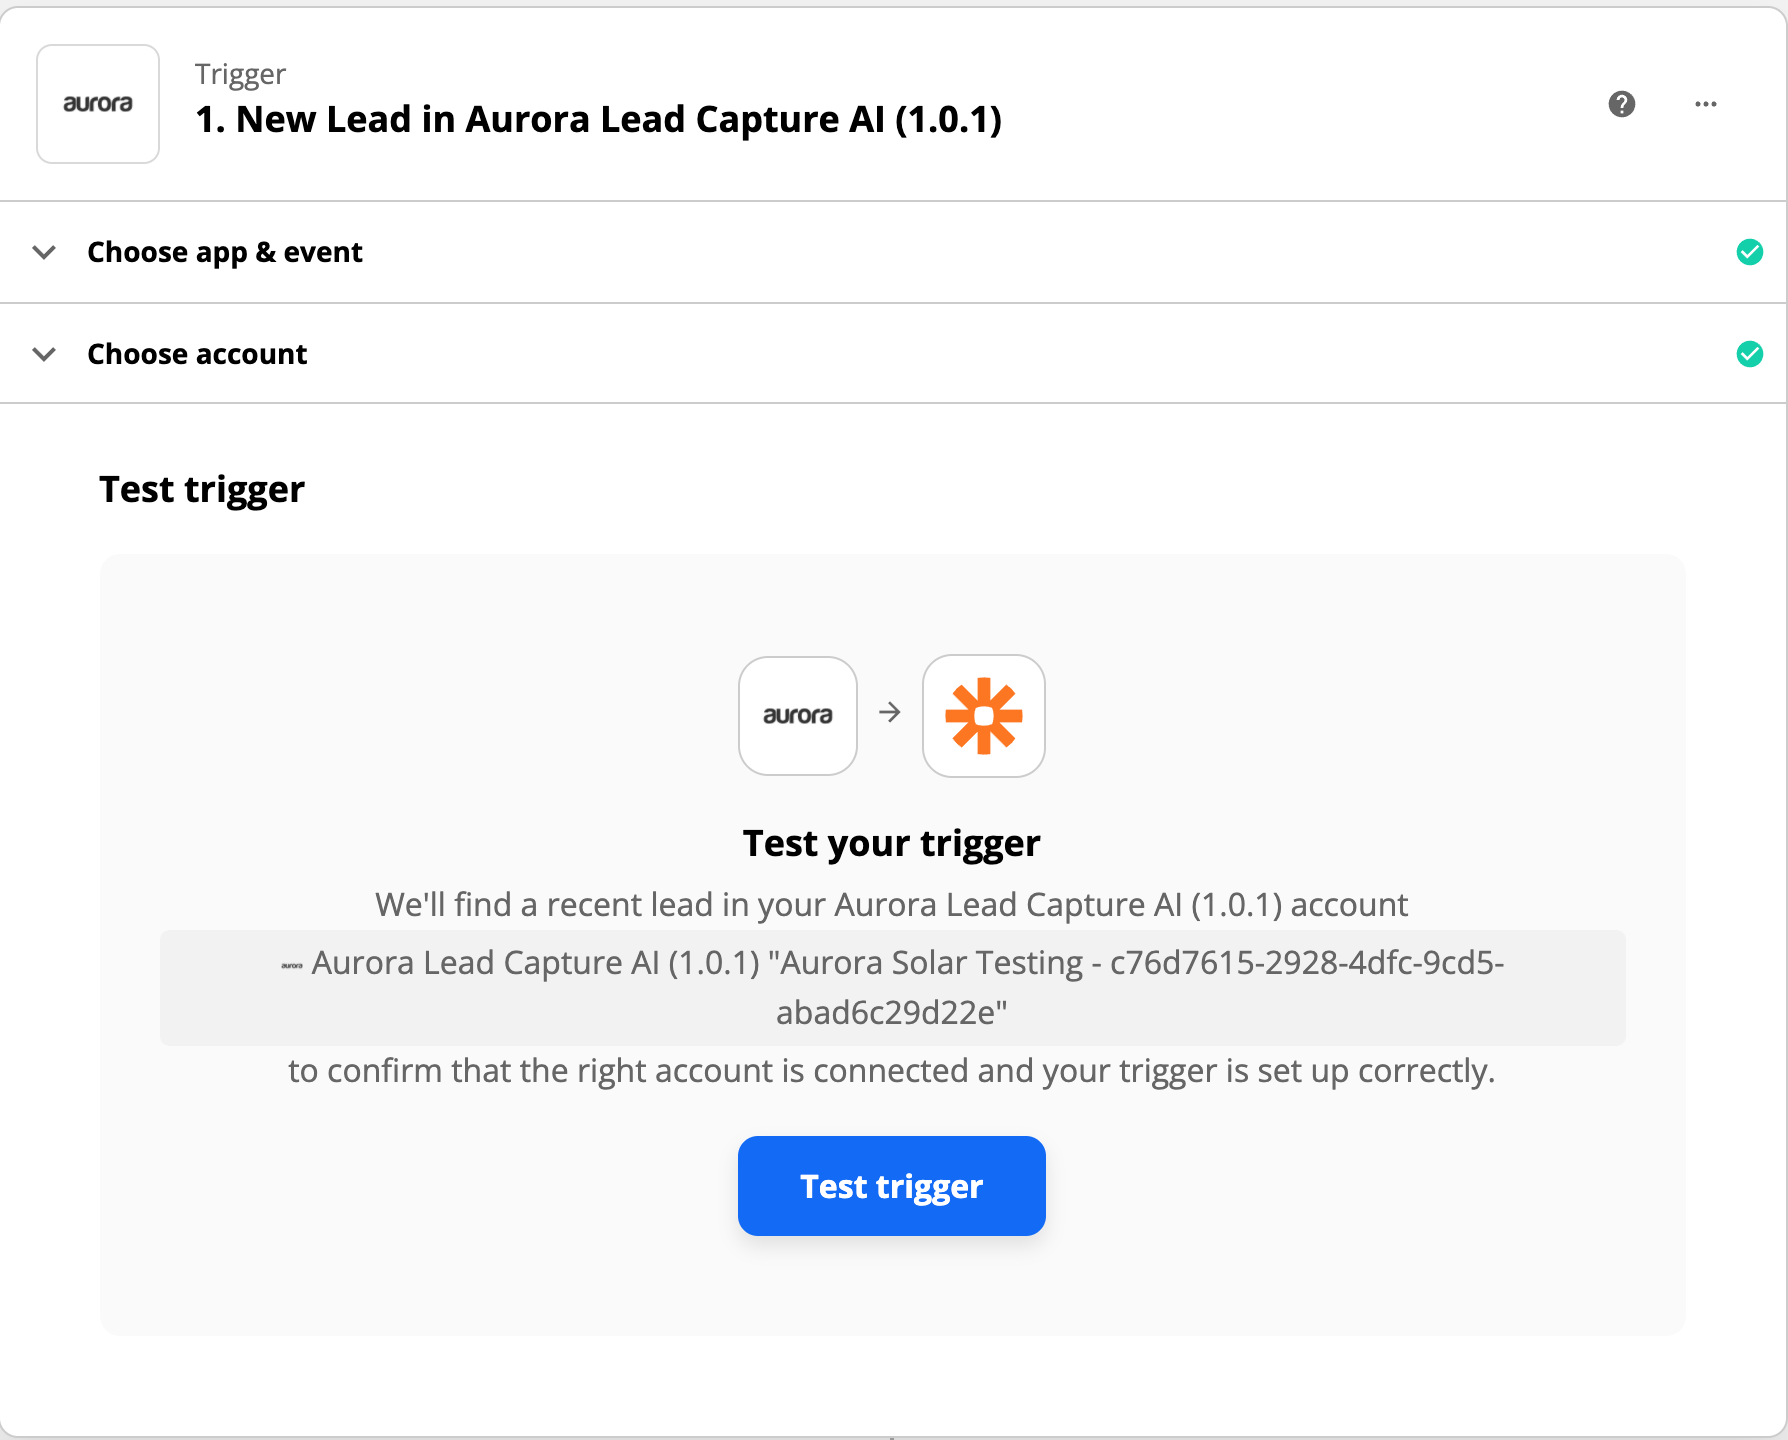
You can skip the "Test Trigger" step at this stage
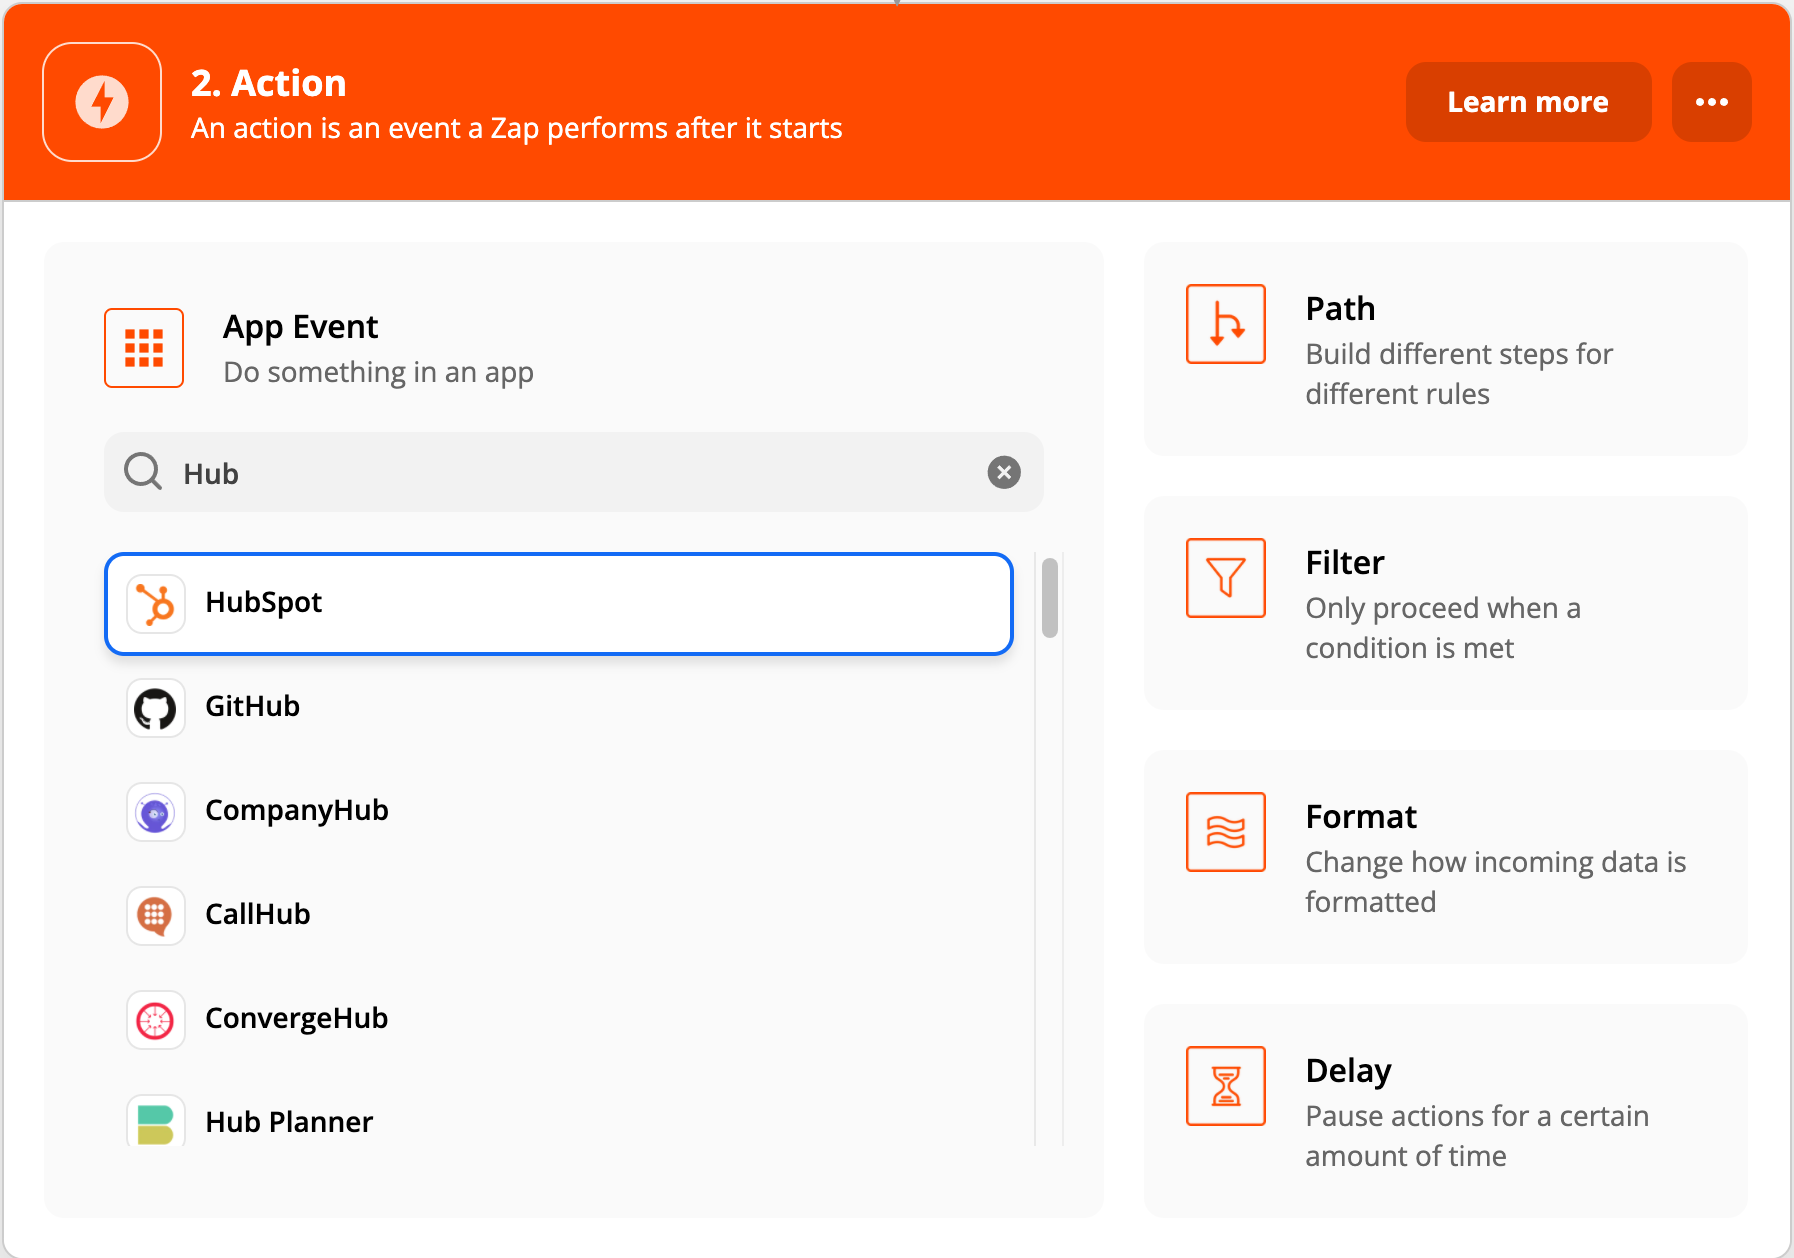
Choose what system and action you want to update with lead info. We'll use Hubspot as an example here but integrations with many different systems such as Salesforce, Google Sheets, etc. are possible
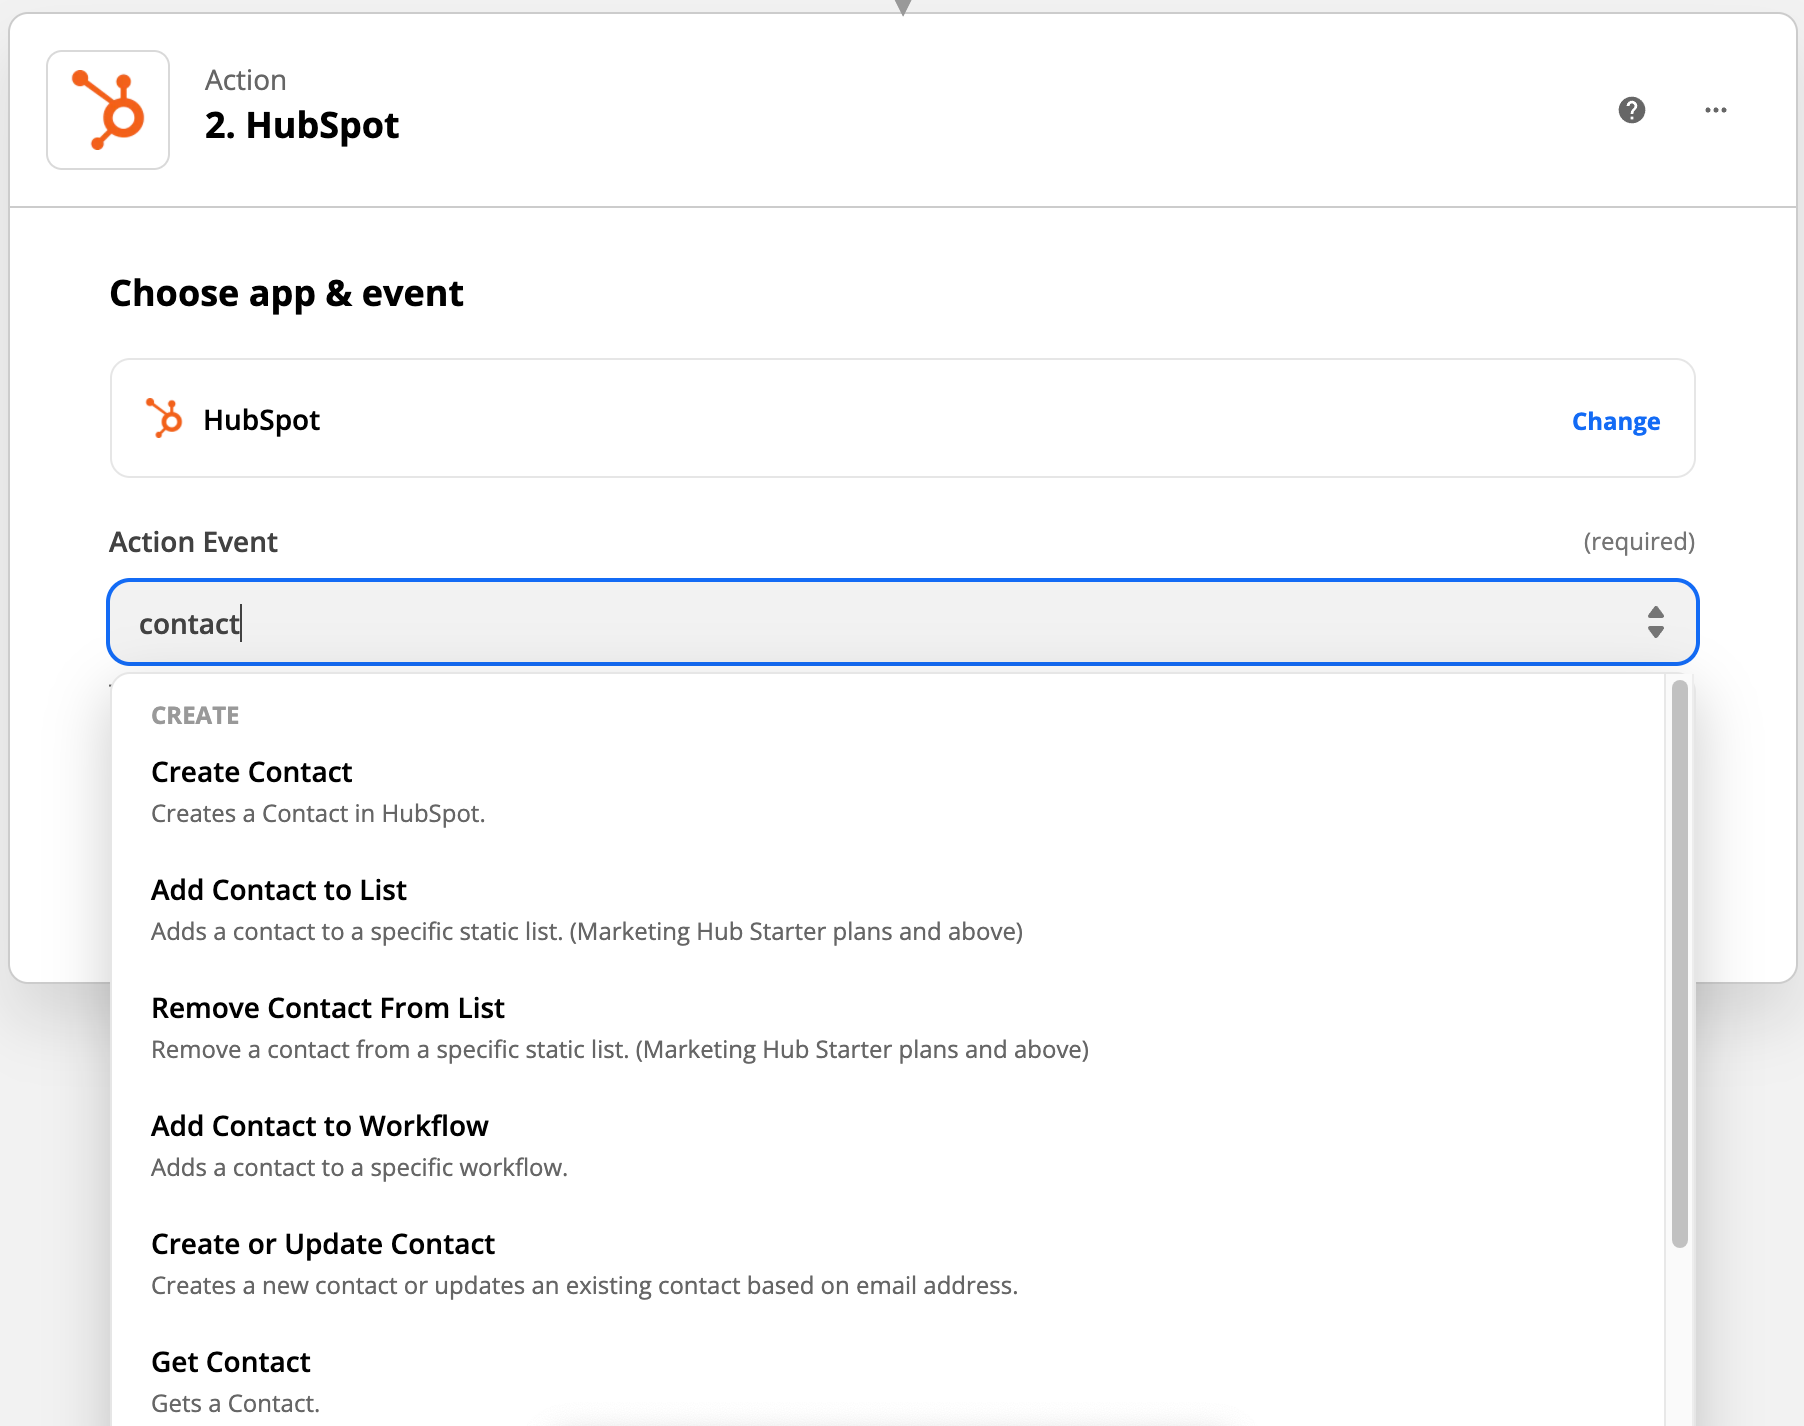
In this example we'll select "Create or Update Contact".
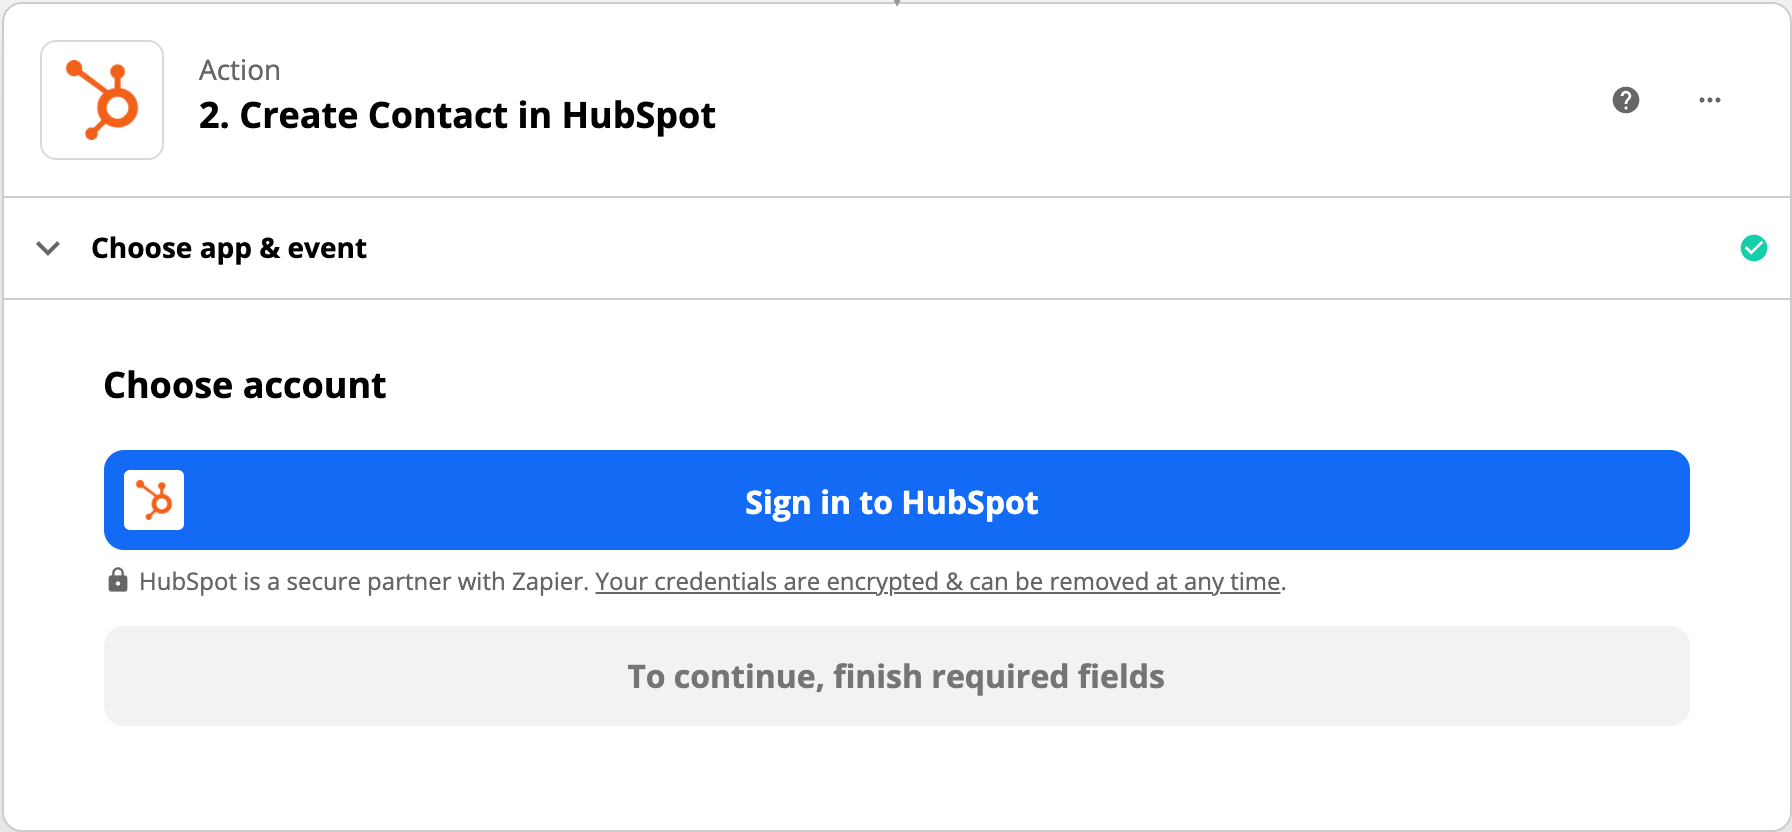
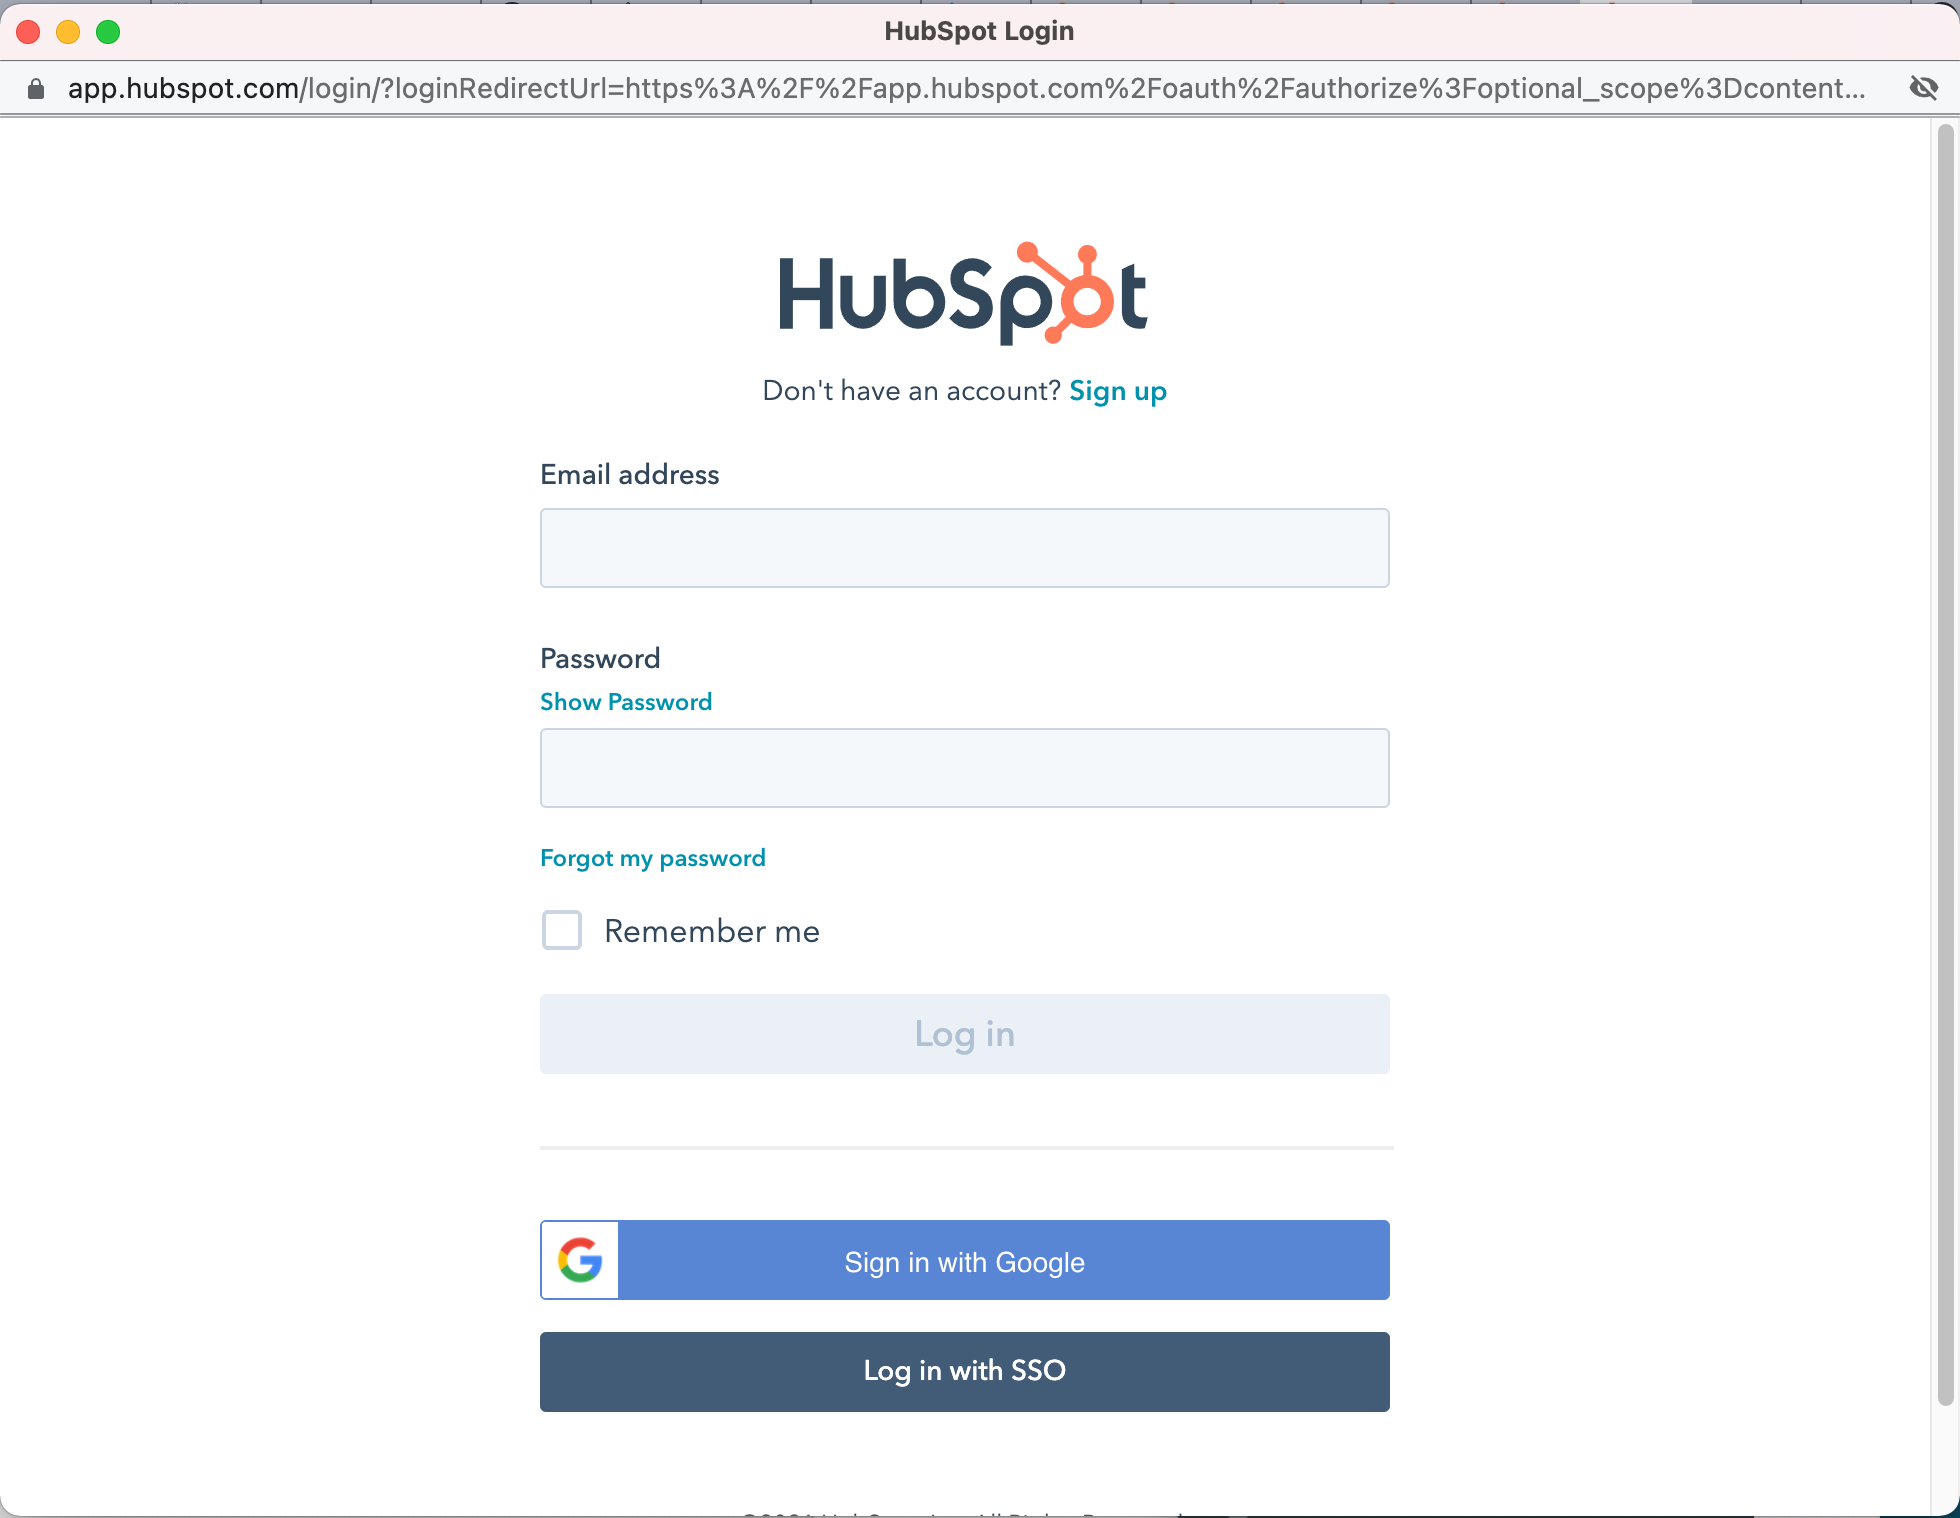
Once you've selected your integration point you'll need to authorize against that system.
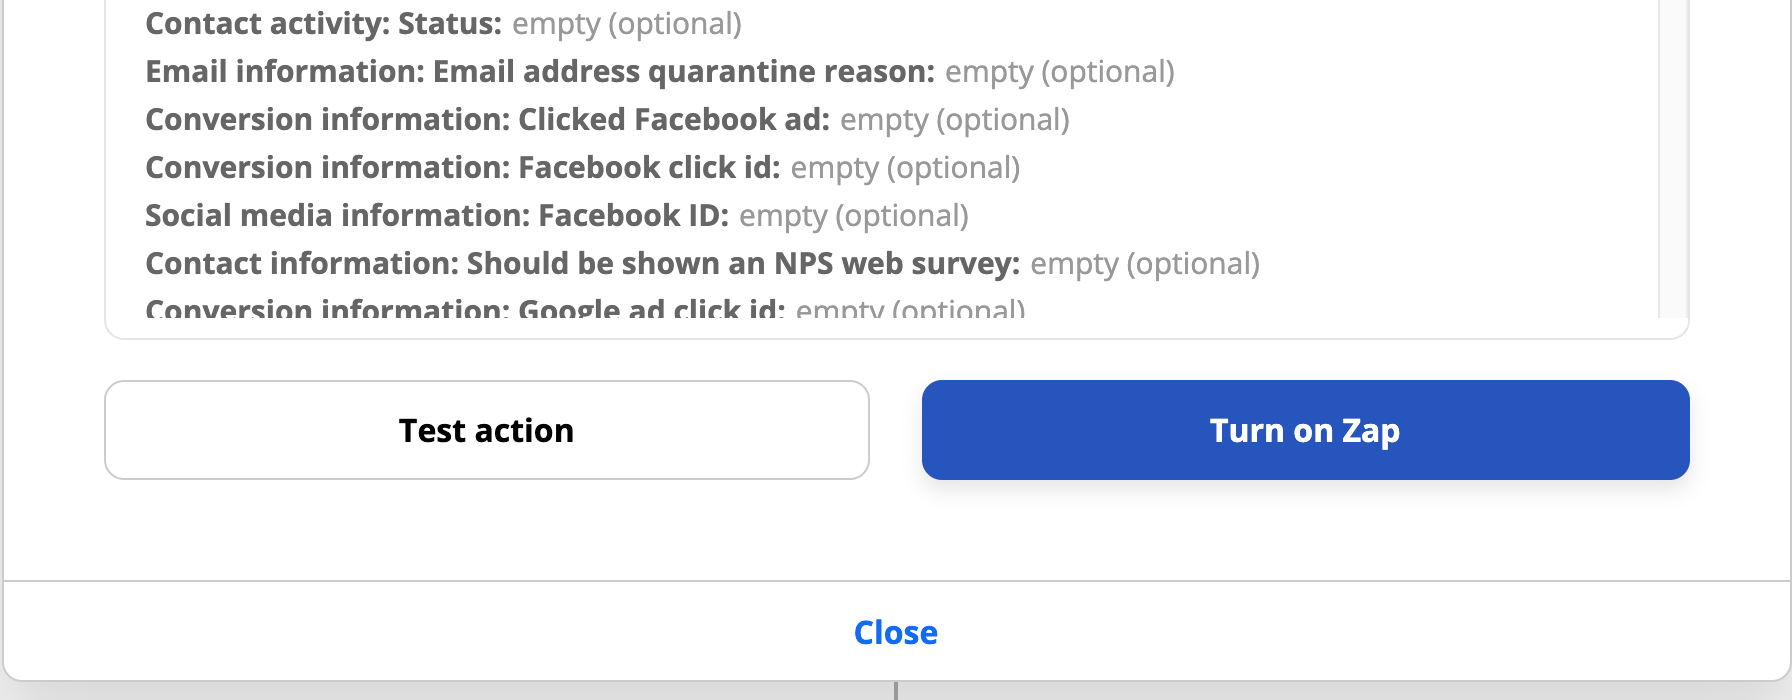
Map the fields from Lead Capture AI to the relevant fields in your system. You may need to first create these fields in your CRM if they don't exist already. You can hit "Refresh" at the bottom of the page if you create fields at this time.
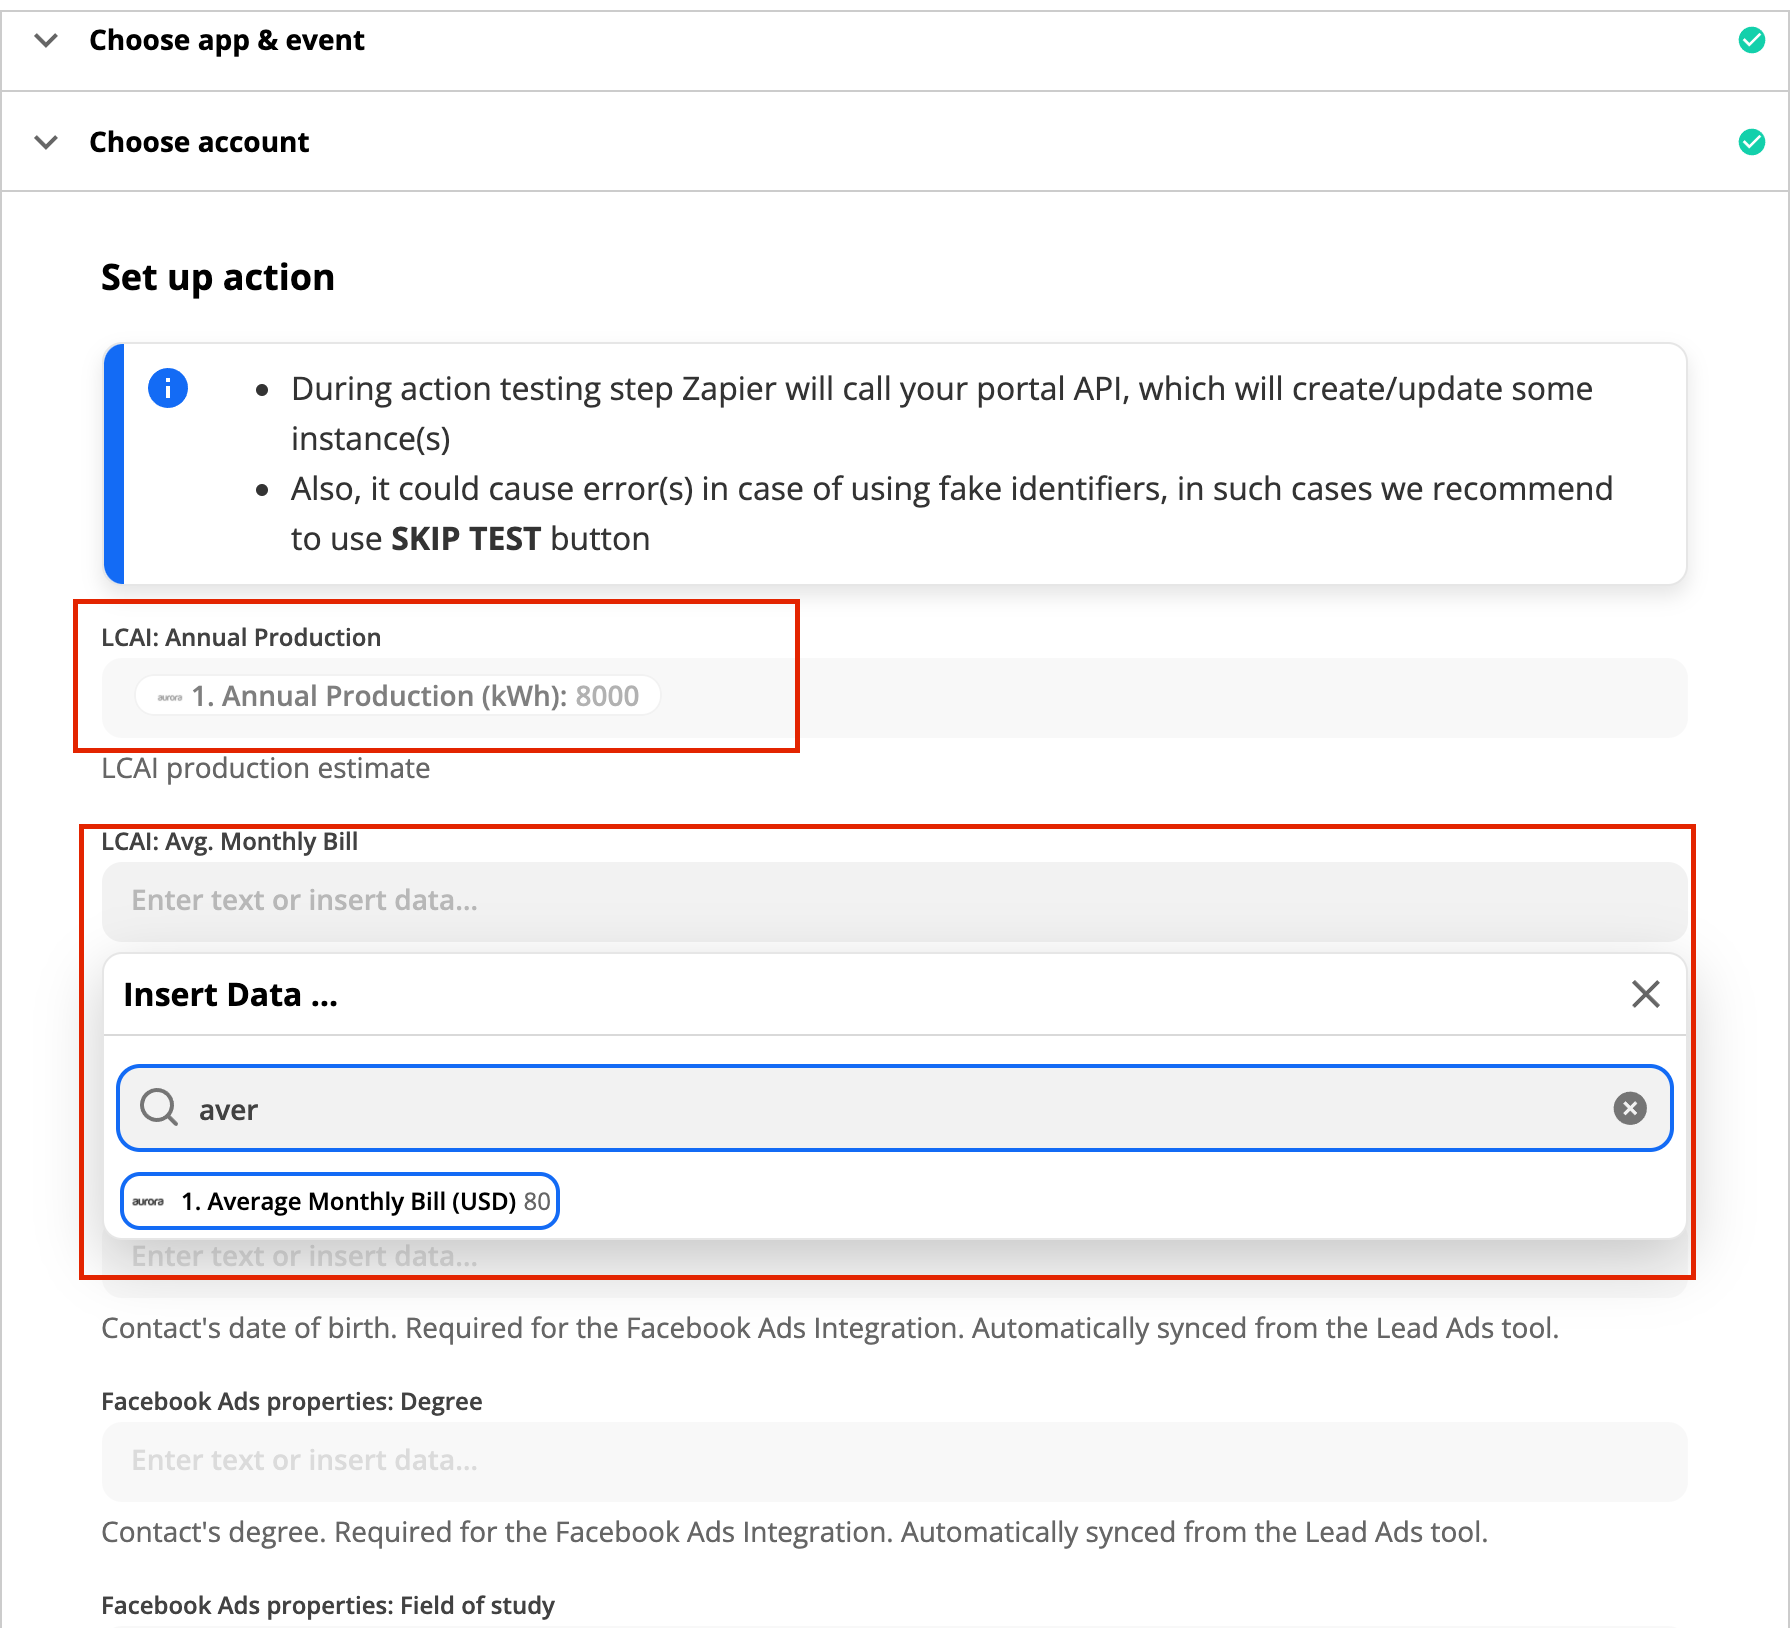
💡 You can concatenate multiple fields if necessary. For example if you want to put street number and street name together in a single field just add both of them into your the destination system with a space in-between and Zapier will send as a single string.
After mapping you will want to test and review the integration. If the integration isn't successful Zapier will provide troubleshooting steps.
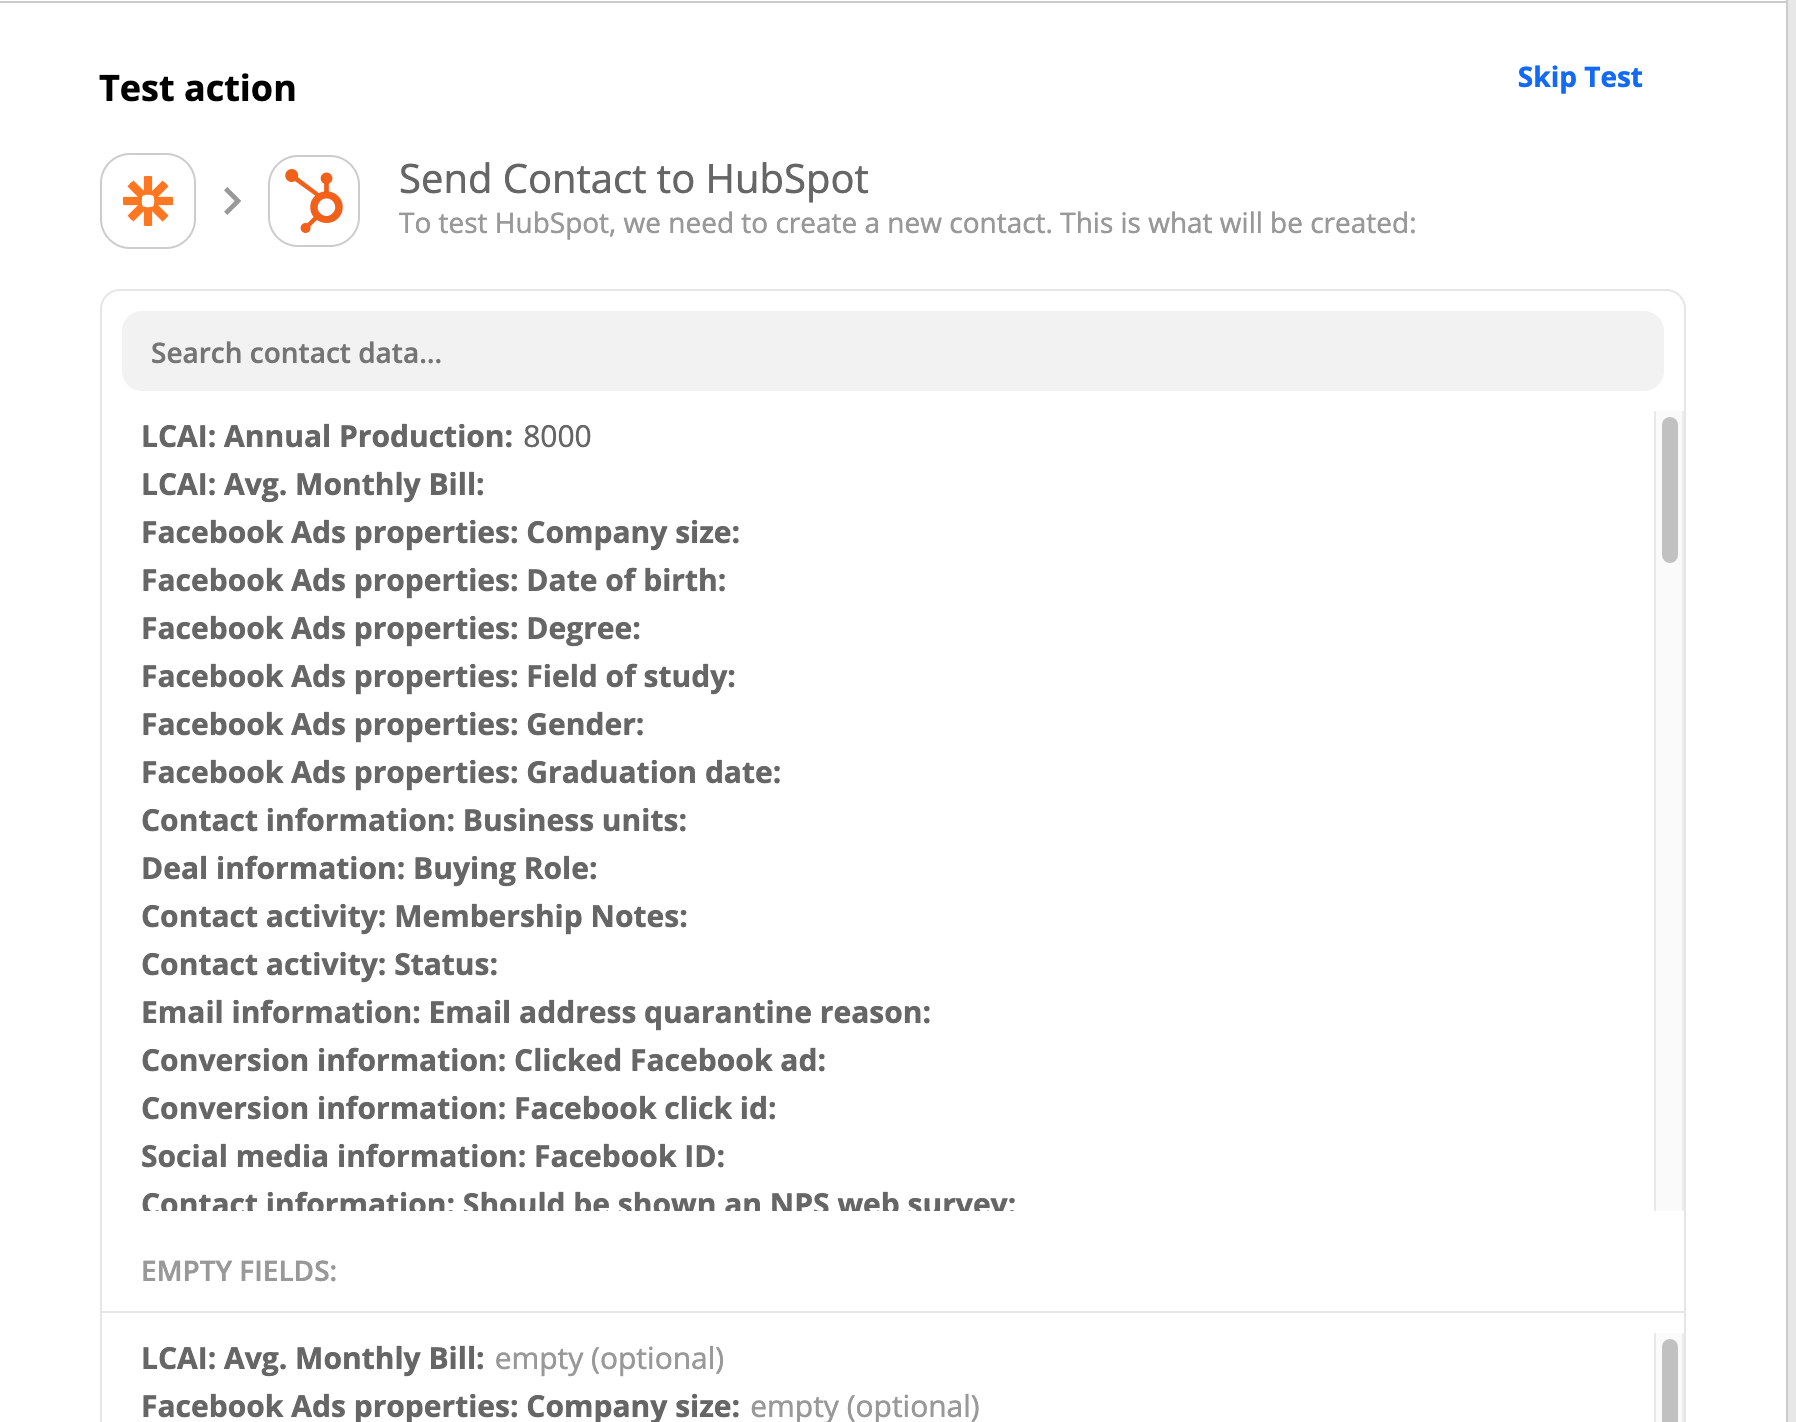
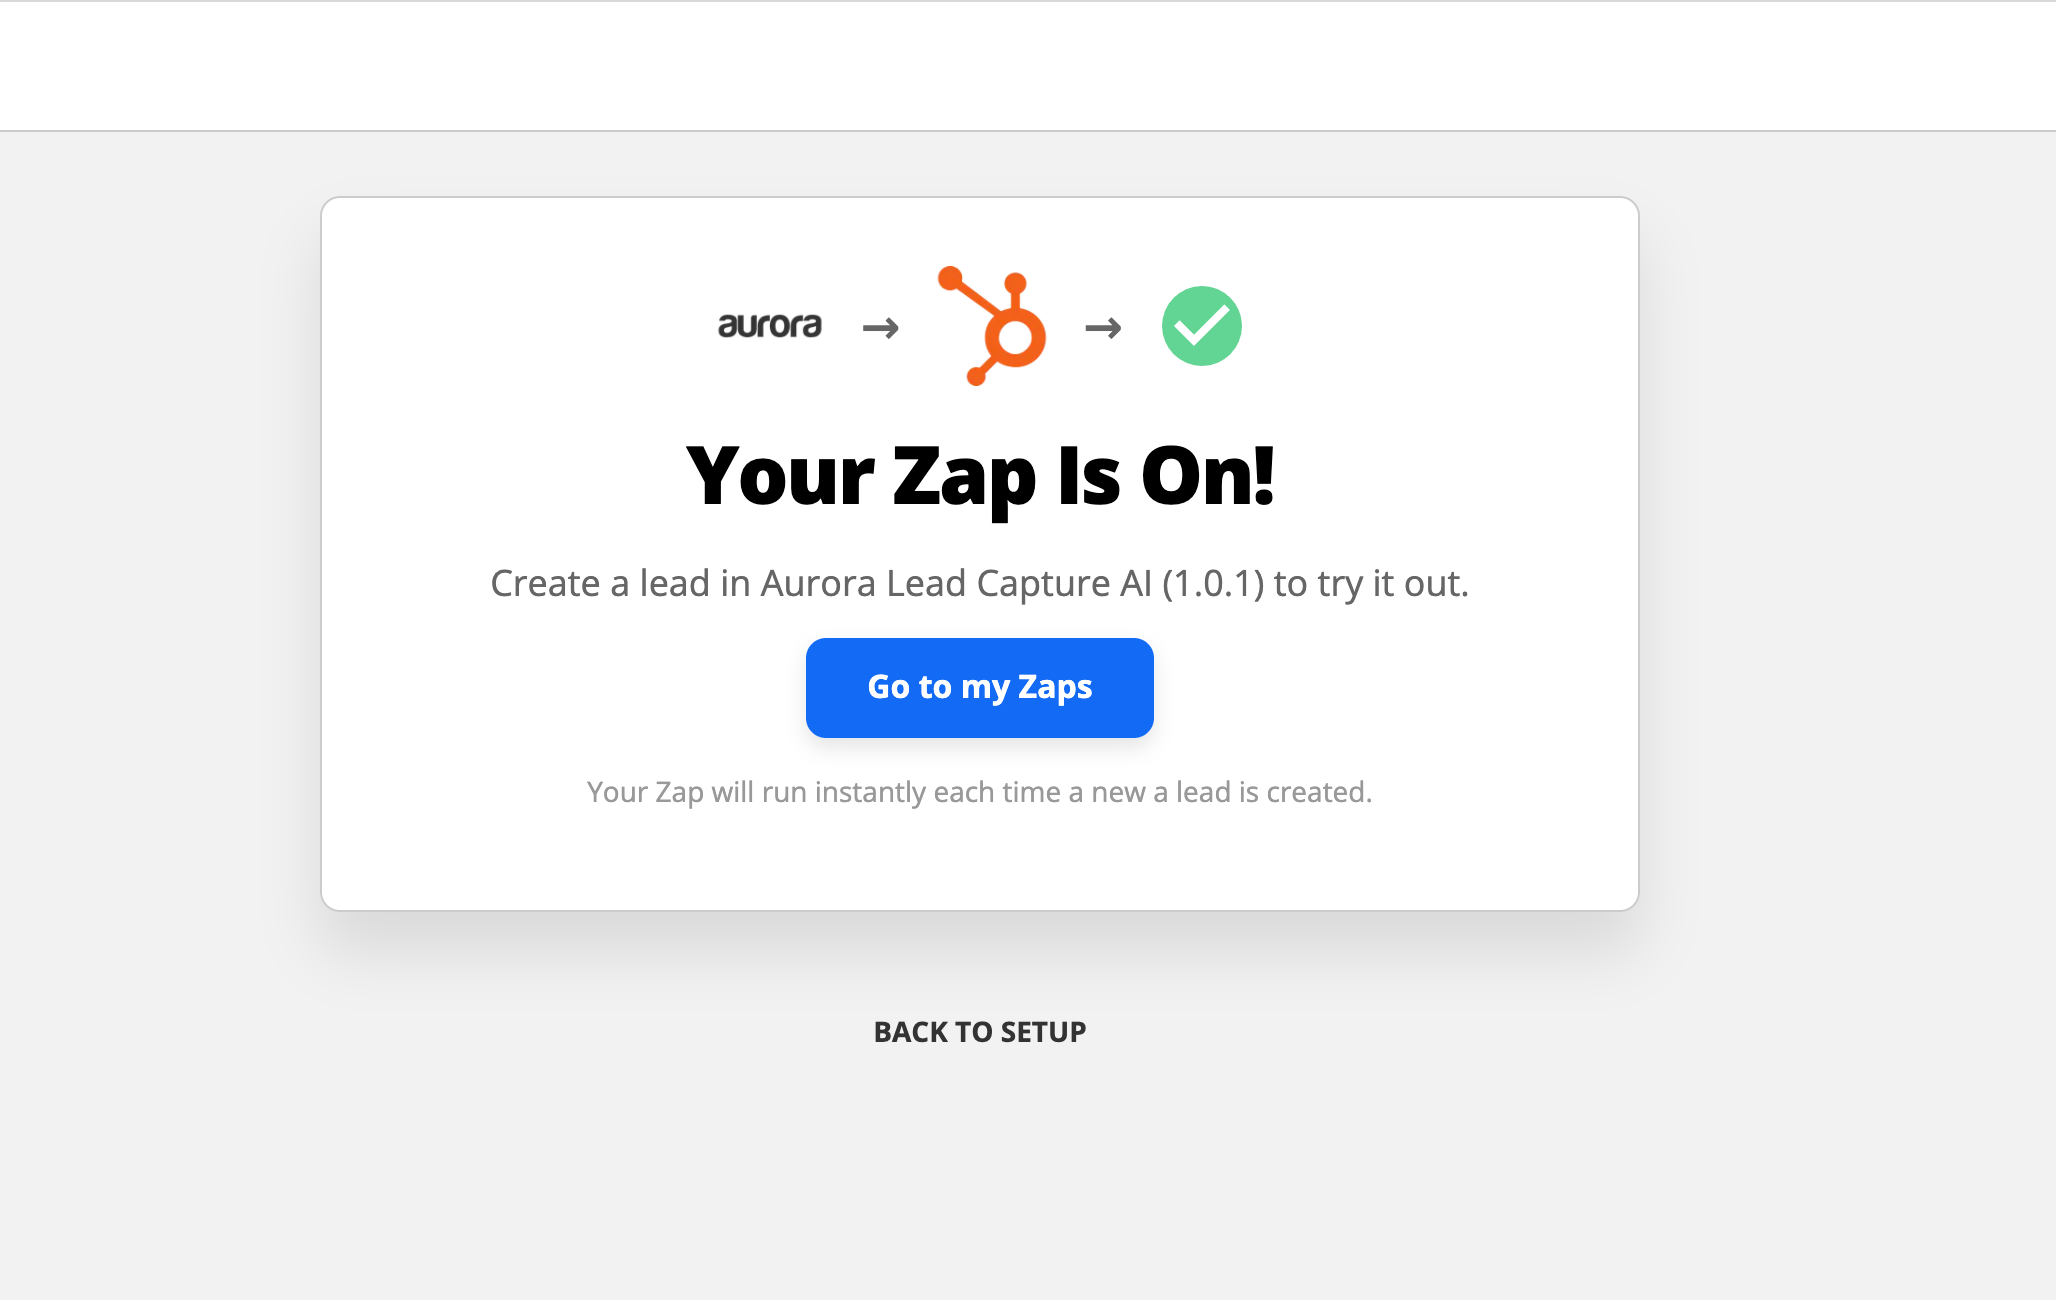
Once testing is complete turn on your Zap!